
One of out Pocket Lens users sent us some tips of how she shoots and edits her pictures for Instagram. We thought we'd share this with everyone else. It's too good to keep for ourselves (and so are the pictures).
- Martin at Pocket Lens

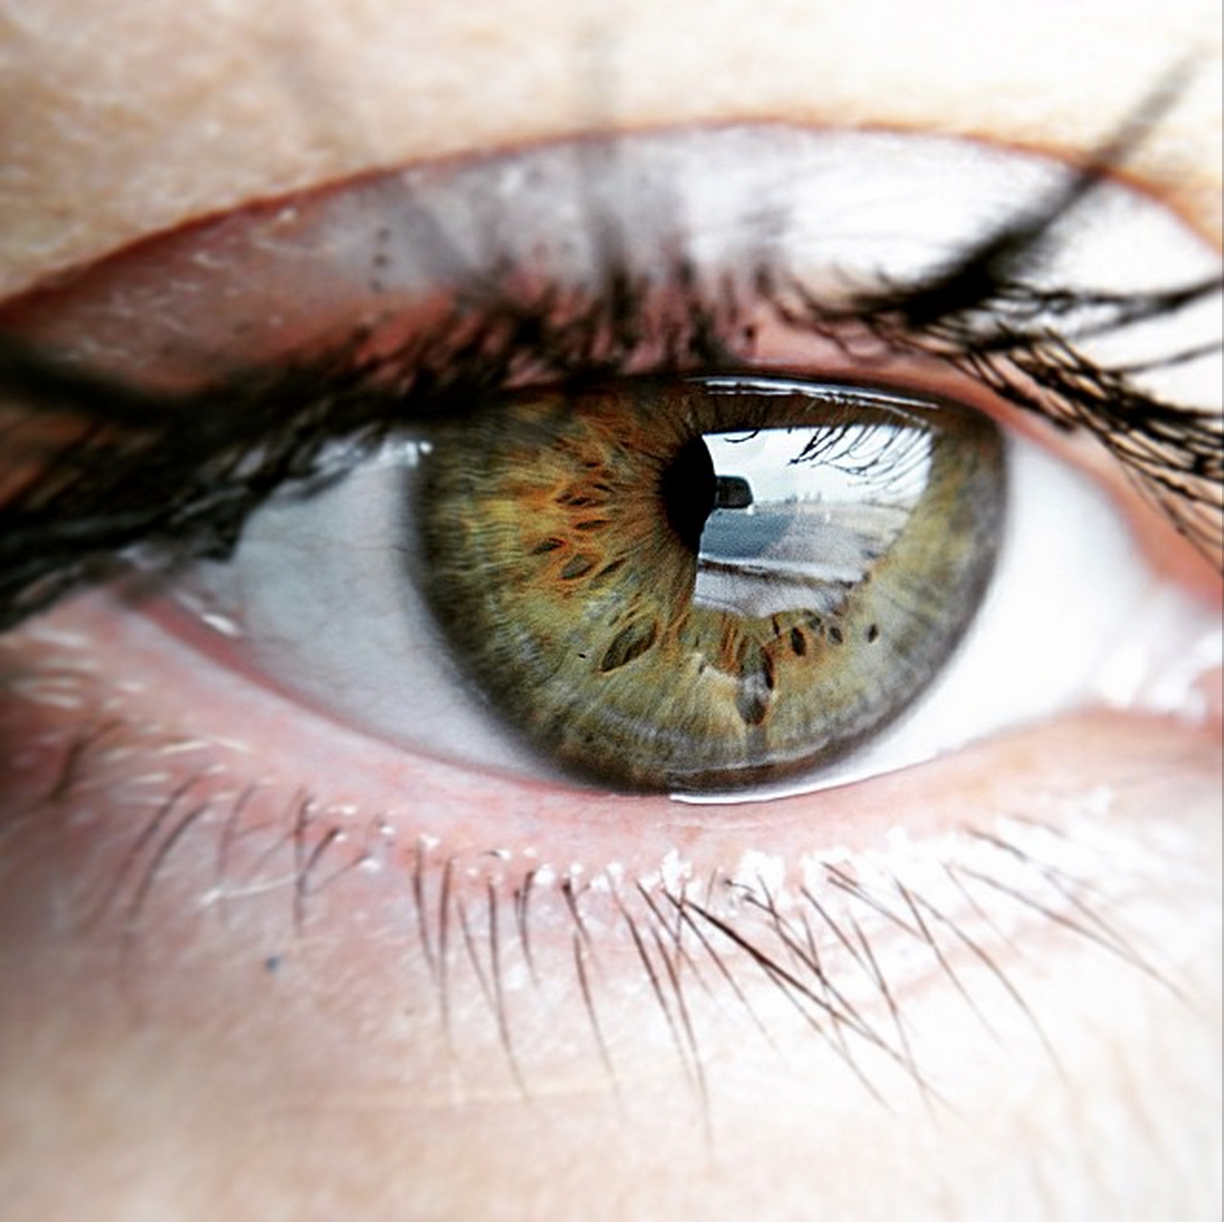
I generally but not always place the subject of the photo on "the rule of thirds" sounds complicated but it's real simple, if you don't know the rule, Google it it's pretty common by now. [Here's a simple article on Rule of Thirds]
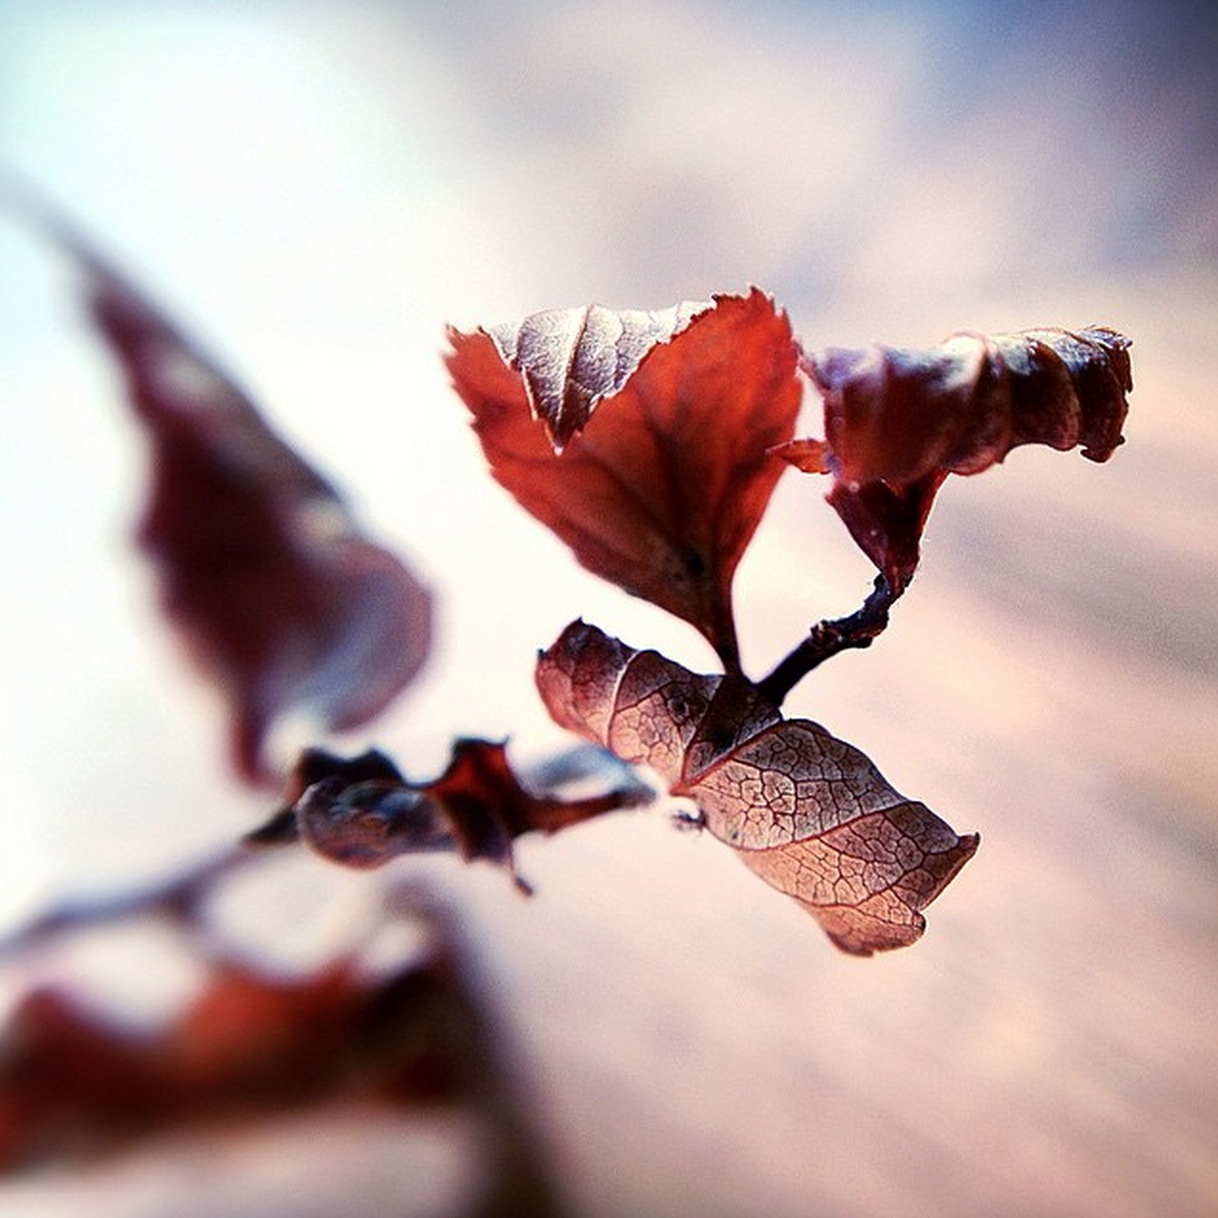
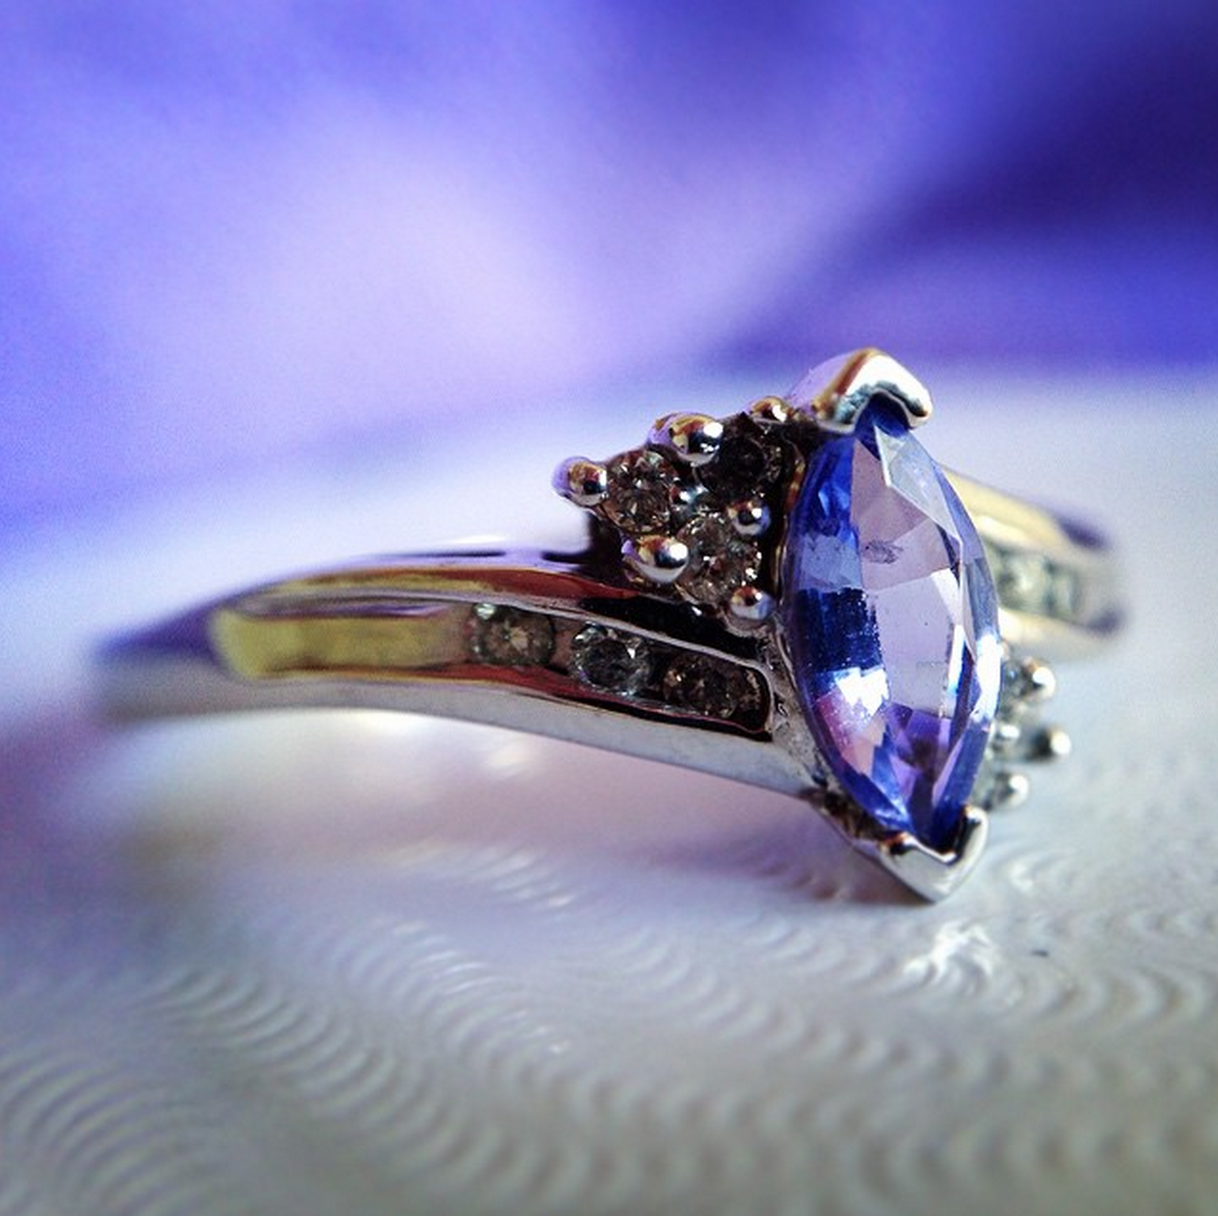
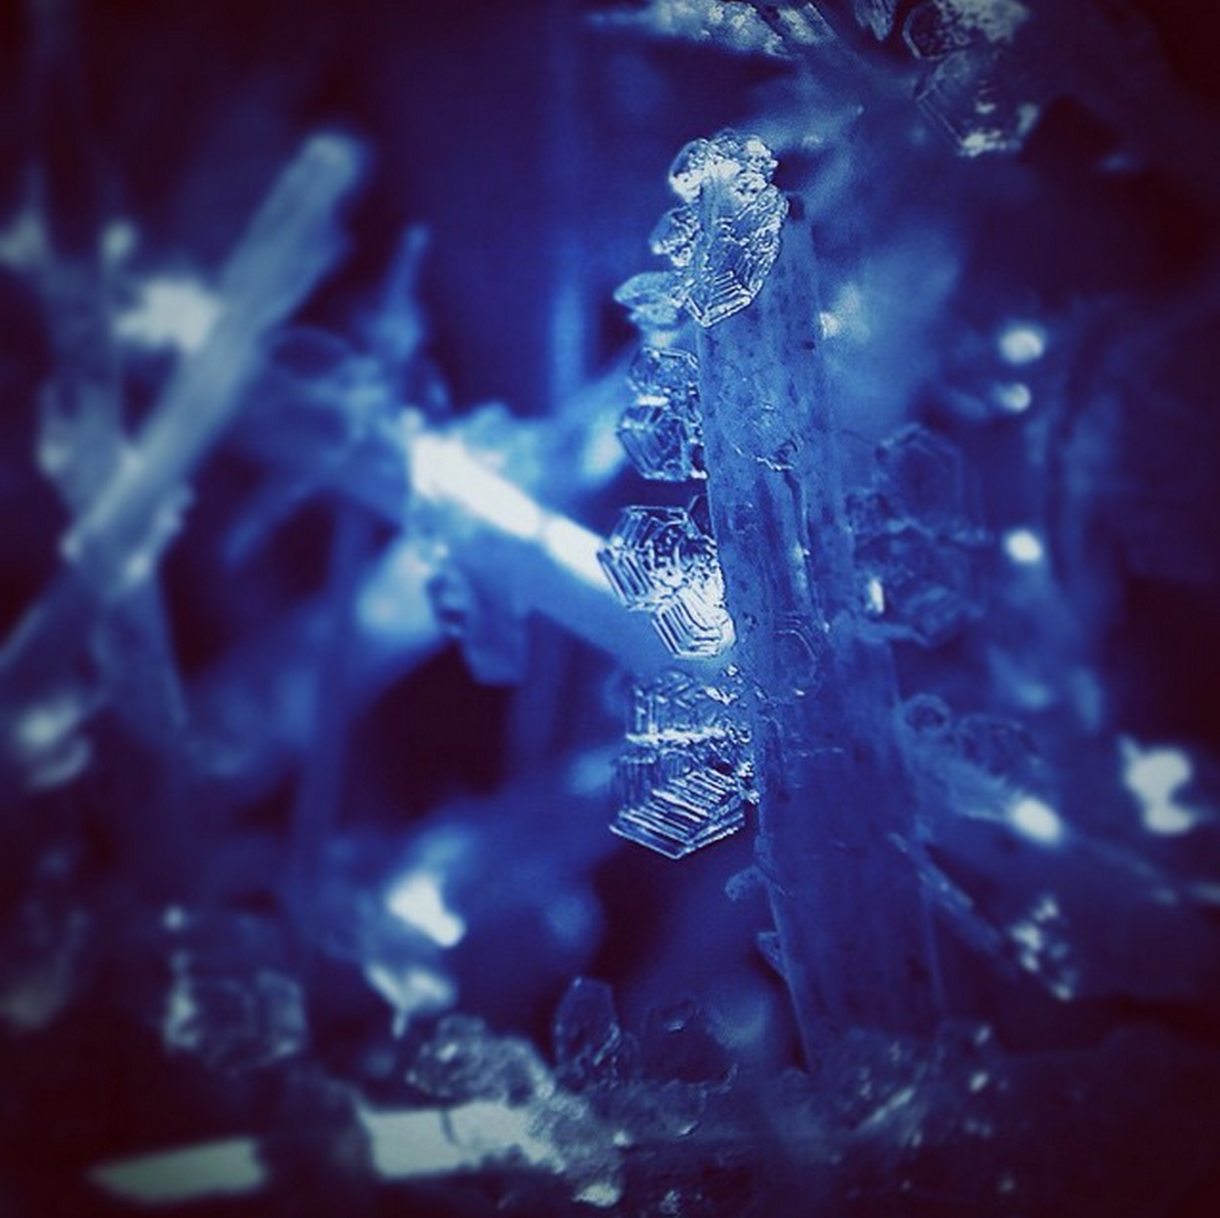
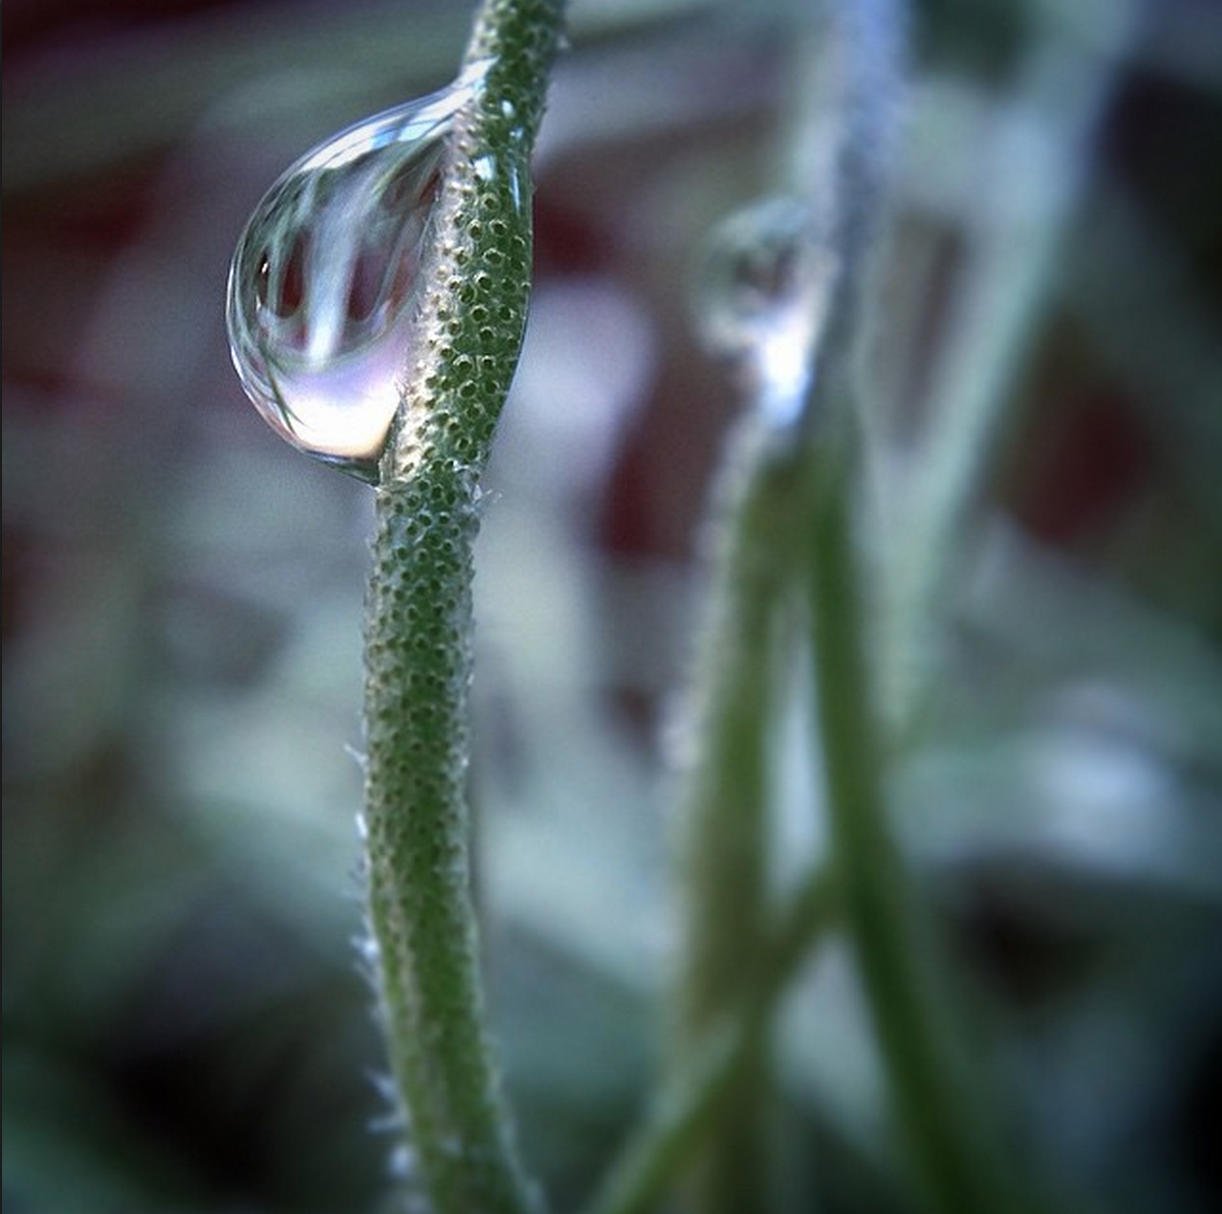
I attempt to place the subject of the photo so that it has a nicely out of focus background that is still visible in the photo itself. Meaning, put some distance between the subject and it's background, capture it in the shot.
I use the macro lens mostly.
I make sure the item in questions is still.
[Note: This is very important when shooting with a macro lens since the focus is very narrow so if the object moves a tiny bit, you'll get a blurry image. If you have bug or flower in a windy area, we recommend shooting in Burst mode to ensure one shot is in focus]
I support my hands or phone on something so as to keep it still.
Then take a ton of photos, don't give up until I get one that is in nice focus.
Sort through, pick the sharpest ones.
I use Aviary photo app for iPhone to edit my photos.
My favorite editing options are:
1. A filter with the opacity lessened 40-50% as opposed to 100% (which ever one brings out nicely contrasting colors)
2. "Focus"
3. Under the option Lighting
"Brightness" / "Contrast" Use them gently, it is easy to get over excited and lose detail with too much brightness, making the image darker might in some cases save a pixelated image (looking like it's got little dots in it).
4. "Sharpen" (before using the tool I zoom in on the area I want to sharpen so as to make sure it doesn't look unnatural) I use this one very gently, careful of pixelating the object in focus.
5. "Blur" (Again I zoom in to the area I want to "finger paint" before opening the tool) I use this one to blur out all background zones of the image that are supposed to be blurry which might have gotten pixelated while using the prior tool "Sharpen"
6. "Vingette" Again very very light application, never use the full opacity of the layer unless it really enhances the photo.
7. Add to that ample daylight or artificial light, it greatly increases the quality of detail with less risk of pixelation
Otherwise just playing around with the various editing options will get one stunning results, but it's done on the phone.
I hope that helps!
To follow Elin on Instagram check her out here.